Technical Tips
Keep Your Technician Skills Sharp
As the Twin Cities’ premier dental studio, we place a lot of importance on keeping our technicians’ skills sharp. In order to ensure your patients receive the finest restorations, we’re also committed to helping our doctors expand their skills. Because of this, we always provide guidance to ensure you continue to refine your abilities.
How to minimize bite splint occlusal adjustments
 Using the manufacturer’s guide for proper powder-to-water ratio, take impression of both arches.
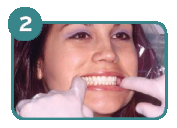 Instruct patient to close into centric relation to verify midline position and bite.
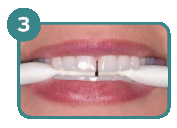 A quick bite technique is to place two cotton rolls behind cuspids and guide patient into centric relation.
 With patient in open centric relation, inject bite registration into the posterior opening of both quadrants.
 Inject bite registration into the anterior opening to capture complete open construction bite at centric relation.
 Stone models mounted with open construction bite. Note the opening between anterior teeth.
 Seat splint, and evaluate fit and retention. Adjust with carbide bur or Lisko-S disc; polish if needed.
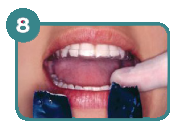 After seating, check bite with marking tape to identify premature occlusion adjust and polish.
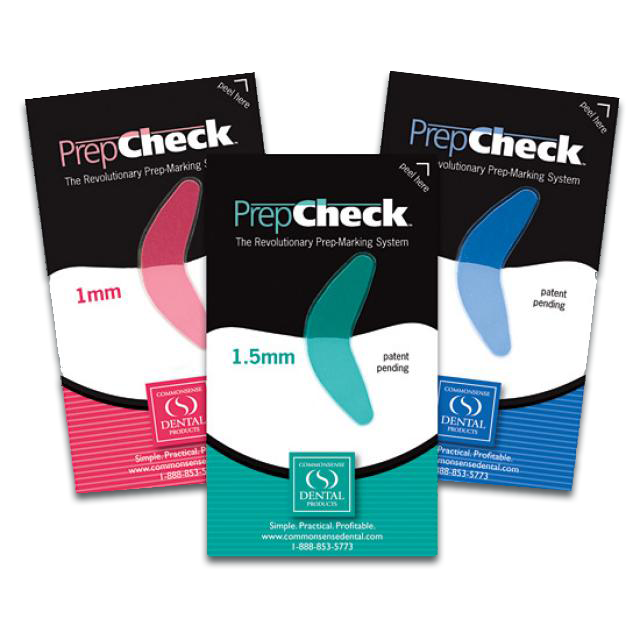
Get a Perfect Preparation Every Time with PrepCheck®
For a successful restoration case, preparing a tooth is as important as fabricating an esthetic crown. Take the guesswork out of prep with PrepCheck®, a prep-marking system that allows for ideal thickness and promotes adequate reduction to minimize chairside adjustment and guarantee the strength of the restoration. Using PrepCheck is simple.
- Insert the dark half of PrepCheck between the prepped tooth and opposing dentition. If you’re able to remove it with very little resistance, the tooth is prepared correctly, and is ready for seating
- Insert the light half of PrepCheck and have the patient bite down. The powdered marking medium will appear at points where contact is too tight.
- Reduce the areas marked on the prepped tooth. Repeat Step 2 until PrepCheck no longer marks areas for adjustment.
Request PrepCheck from Harrison Dental Studio on your next case. To order directly from the manufacturer, visit PrepCheck.